Integrating a dental microscope into your practice should feel like a “win”. After all, you’re expecting to benefits from the enhanced visualization, improved treatment outcomes, and ergonomic improvements offered by your scope. But, like any new tech in your operatory, the learning curve to get proficient can seem overwhelming.
To help new dental microscope users make a smooth transition and maximize the advantages of this advanced equipment, we’ve compiled teachings from Global microscope users who have experience lecturing and training on the learning curve of a scope. Today, you’ll learn from:
- Dr. Donato (Dino) Napoletano and excerpts from Updates in Clinical Dentistry. Dr. Dino Napoletano is a restorative dentist and long-time Global microscope user. In addition to owning and operating Donato Dental in Middletown, New York, Dr. Napoletano has conducted hands-on microscope training sessions both privately and at Tufts University’s GPR program.
- Dr. Michael Wenzel and excerpts from his Inside Dentistry CE Webinar: Microscopes for the General Dentist. Dr. Michael Wenzel is a General Practitioner based in Alberta, CA.
Today’s learnings are aimed to help:
- Dental school students (endo & other specialties) training with scopes
- GPs considering a scope for restorative & endo work (first time with magnification)
- Dental professionals considering transitioning from loupes
While these learnings may help you get started, they’re only wetting the appetite for what you may expect from a full hands-on immersive training course. Many dental microscope training courses are offered across the country and internationally to facilitate your comfortability with a scope in as little as 2 days!
Check out our complete list to find a course near you by visiting: Where to Get Professional Training on a Dental Microscope in 2023-24.
The Learning Curve for Dental Operating Microscopes
Although the learning curve for operating with a dental microscope may seem challenging and somewhat frustrating at times, especially for the new user, it’s important to stay focused on the end result: better clinical outcomes and long-term health.
Integration time will vary between operators, but after you’re feeling comfortable, your ability to diagnose problems will dramatically improve.
According to Dr. Dino Napoletano: Areas of the mouth or a specific tooth that were previously difficult to visualize, even in patients with restricted access, will become easier to see and operate in. And, with training, you’ll be operating in a comfortable, upright postural position, executing procedures at a level of precision that may have been difficult to imagine previously.
Improvement does not happen overnight, the essential ingredients for integrating any new procedure or technology are patience, practice, and persistence.
To feel confident in your mastery of a dental microscope, there’s a few key pieces to get right:
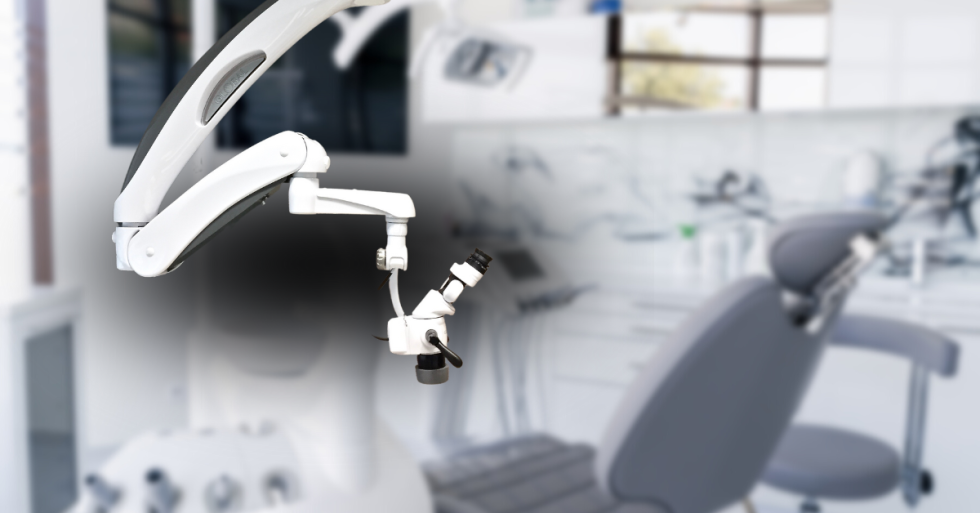
- Location: where your scope will be placed in your operatory for maximum efficiency.
- Parfocaling: getting your individual sight settings focused and correct.
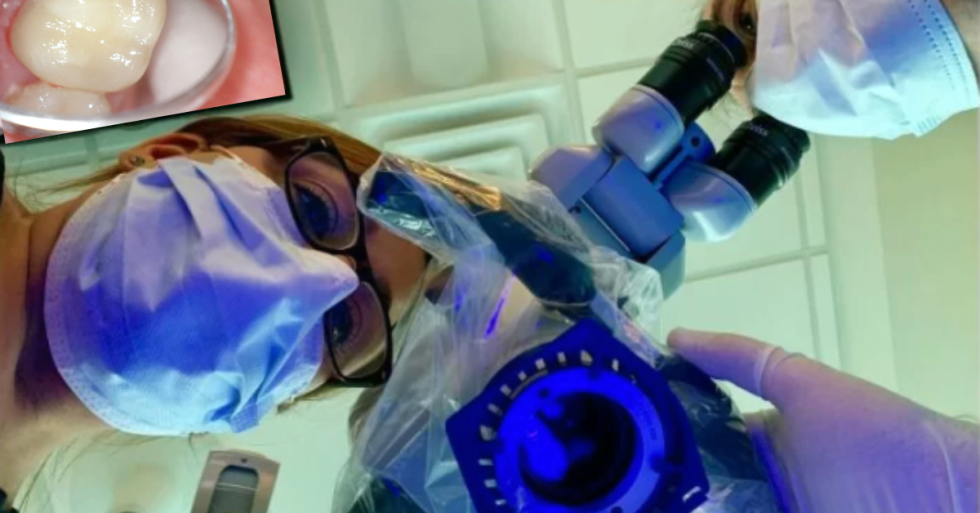
- Positioning: moving your body/chair, the scope itself, the position of the exam chair and the patient’s head and mirror in order to visualize operating field or a target tooth.
For more on this topic, including a comprehensive look at each of these components, check out our article: Dental Microscope How-to Guide: Integration & Positioning.
Common Integration Mistakes & How to Avoid Them
Dr. Michael Wenzel put together a list of the top 5 mistakes new microscope users make, along with tips to avoid them. Knowing each of these may help you get things right from the start, and ultimately shorten your learning curve and avoid frustration of “un-learning”.
- Too Much Magnification: Higher powers of magnification narrow your field of view and decrease depth. Even small movements become greatly amplified when working under high magnification, so it can become more difficult to track your movements without the correct amount of training/practice.
- Solution: In these circumstances low magnification of 2-5X may be more beneficial. Higher magnification of 8-13X may be useful when dissecting within a small area requiring less movement, e.g. in papilla preservation techniques.
- Poor Case Selection: Having a basic understanding of where in the mouth a scope is easy to use versus more difficult may save frustration while on the learning curve.
- Solution: Upper-direct restorative is a great option for learning the scope, because you’re already used to indirect vision with mirror observation. Getting good with your mirror will help you see multiple angles without needing to move your scope or your neck.
- Cutting Costs: Choosing upfront cost on a cheaper scope may cause major sacrifices to your visualization, magnification, and almost even more importantly – your comfort!
- Solution: Choosing from a major manufacturer will ensure you’re maximizing your benefits, with optional accessories to make you more comfortable – and even shorten your learning curve (such as a multifocal lens for adjusting focus, or the 45 degree ergonomic extender for additional comfort).
- Changing Techniques Too Rapidly: Many scientific publications emphasize new techniques or technological advances, some of which are mainly for research while others are so sophisticated that they are beyond the scope of most clinicians in practice.
- Solution: With experience on a dental microscope, doctors do not need to necessarily change their techniques, but should continue with those with which they are most familiar. After adjusting to using a dental microscope, you may consider applying new techniques as your skill level with a microscope improves.
- Poor Positioning: Learning how to effectively position your scope so that the operating field or target tooth can be visualized is part of getting comfortable with your scope. To get acclimated, some doctors seek formal training, while some will learn it through trial and error.
- Solution: The most important things to be mindful of when learning how to get comfortable with microscope positioning is that in addition to your scope itself, the position of the exam chair, patient’s head and mirror also need to be considered when trying to visualize the operating field or a target tooth.
More Value With a Global Microscope
At Global Surgical, we’re committed to your success, with durable products and our knowledgeable Technical & Customer Service teams. And, we guarantee your peace of mind with our limited lifetime warranty (US & Canada only).
Many of the doctors we speak with begin using their scopes with nearly every patient – from observation and diagnosis to treatment planning and procedure, so we know it’s important they are able to use their scope effectively.
Questions? Reach Out!
If you’re just getting started with a dental microscope, or considering adding a scope to your practice, we are here to help! We can help configure and customize your scope to your clinical needs, helping you get started as quickly as possible. Our Technical & Customer Service teams are rated among the best in the business.
In fact, one doctor reviewed his experience at Global as: “I have never purchased a product that had better customer service than my Global Microscope. It’s great to know that I can pick up the phone and have an entire team of experienced professionals willing to help me promptly.” – Dr. Osvaldo Z. Mayoral, D.M.D.
Get started by reaching out to us at 800-861-3585 or by clicking the button below.

.png)