.png)
Perhaps you’ve read our article: Dental Loupes vs Microscope: 5 Key Categories. After learning about the enhanced visualization and improved ergonomics of a dental microscope over loupes, you considered making the investment in microscopy yourself – and your practice.
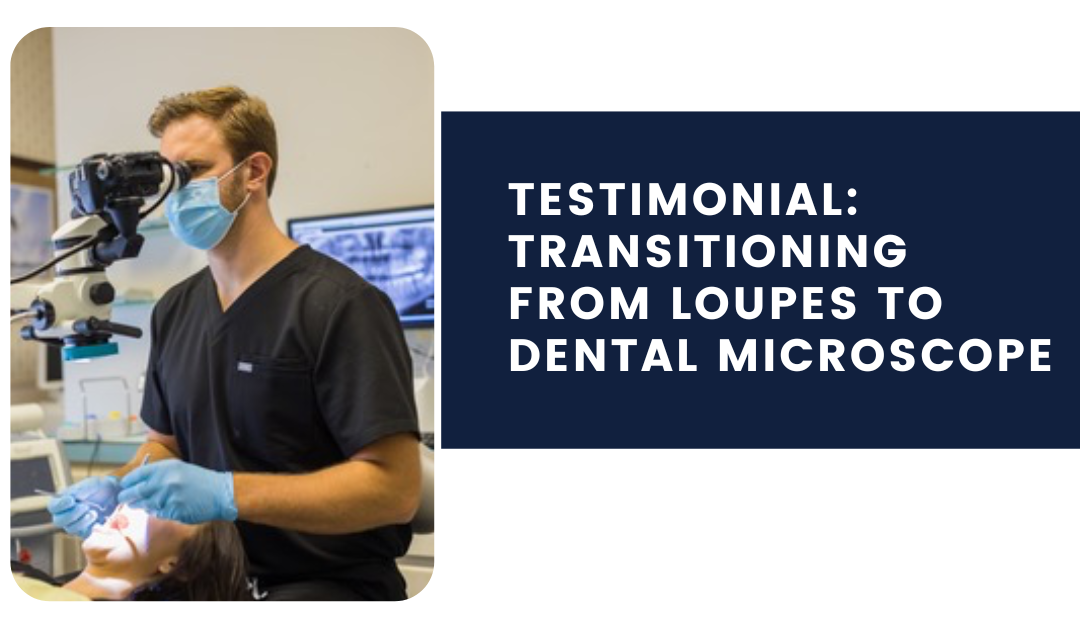
Or, maybe you’re like Dr. Shane Smith, a General Practitioner and Global microscope user for the past 2+ years. Upon starting his own practice, Dr. Smith decided to make an investment in his long-term health and comfort and transition from loupes to a dental microscope.
For over 25 years, we’ve worked closely with doctors to help them maximize the value they see from a dental microscope, including giving customers the best possible experience with high-quality products as well as service.
As part of this effort, we launched a collection of the most requested reference materials from dentists we work with – our “Dental Microscope How-to Guides”. Each article in this series will include easy-to-follow steps to help ensure you get the most from your dental microscope investment, while providing some tips and tricks for even the most experienced microscope users.
If you’re new to this series, here’s what you may have missed. These are particularly helpful for new scope users, to help shorten your learning curve and start maximizing your investment as quickly as possible.
Part 1: How to Focus Your Dental Microscope. In this article, we explained the steps for parfocal adjustment in coarse and fine focus, as well as the use of a multifocal lens attachment. Understanding how to focus your scope is an essential skill for microscopy because every time you switch magnification levels or reposition your patient, you’ll need to adjust your lens to see clearly.
Part 2: Dental Microscope Integration & Positioning Guide. Mastering the use of a dental microscope requires getting comfortable with indirect vision. This means, while your vision is enhanced through the binoculars of the scope, you also need to acclimate your hands and body for using your dental instruments as you would with direct vision.
The Integration & Positioning Guide was compiled in-part by Dr. Donato (Dino) Napoletano, a restorative dentist and long-time Global microscope user. In addition to owning and operating Donato Dental in Middletown, New York, Dr. Napoletano has conducted hands-on microscope training sessions both privately and at Tufts University’s GPR program.
The How-To Guides above are great resources for new scope users. Today, we’re going to take a deeper dive into the learning curve experienced by new users transitioning from loupes.
This article references an excellent course presented by Dr. Michael Wenzel: Inside Dentistry CE Webinar: Microscopes for the General Dentist. Dr. Wenzel is a General Practitioner based in Alberta, Canada.
So, if you’re accustomed to using magnification in your dental work through loupes, but you’re just beginning training on a dental microscope – where do you begin? According to Dr. Wenzel, who also made the switch from loupes to scopes, there are many effective ways to shorten the learning curve associated with the transition.
Being aware of the most common challenges when moving from loupes to a surgical microscope is a great first step in shortening your personal learning curve.
Acclimating to a New Perspective & Indirect Vision
Normally, when you look through your loupes, your perspective is unchanged – it begins at your eye. When using a scope, your perspective begins at the objective lens, so where you look is not where you “see.” Those of you using ergo-loupes may have an advantage over regular loupes when transitioning to a scope. Those of you not using ergo-loupes, will experience a “perspective disconnect”. See below.

Image source: Dr. Michael Wenzel
When you look through your scope, you’re trading in a very mobile perspective for a much more fixed perspective. The microscope is suspended on a mechanical arm that is designed not to move unless you adjust its positioning. This has major implications for allowing you to see the necessary anatomy while maintaining good ergonomics.
Having a basic understanding of where in the mouth a scope is easy to use versus more difficult may save frustration as you get started using your new microscope.Lower molars may seem like an easy starting point because they were easier to learn in dental school – direct vision, right? Unfortunately, this does not hold true for the microscope learning curve.
Because of the fixed perspective of a dental microscope, prepping and restoring lower molars predictively requires either excellent positioning skills in direct vision OR mastery of the mandibular arch on indirect vision.
Upper-direct restorative is a great option for new microscope users, because you’re already used to indirect vision with mirror observation. Practicing and improving your skills with your mirror will help you see multiple angles without needing to move your scope or your neck.
BONUS: One additional change you’ll notice when transitioning from dental loupes is the consistent, high-powered illumination. Though you’ll be adjusting to working with a fixed perspective, you’ll feel less of a need to move or reposition your neck or body to minimize shadows – compared to using the dental light or a headlamp with your loupes. The type of lighting these devices provide can cause showing in the diagnostic field.
To avoid this, dental microscopes are designed with coaxial lighting, meaning your light source is perfectly parallel to your line of sight. Here, you get a fixed view that is virtually shadow-free, illuminating even extraction sockets and endo accesses.
Adjusting to Higher Magnification
Many dentists turn to microscopy for higher powers of magnification in comparison to loupes. Loupes generally offer 2X-6X magnification while most major microscope brands can provide up to 20X. making it the most effective magnification tool for dentists.
However, just like with your loupes – you should be aware – higher powers of magnification narrow your field of view and decrease depth.
This concept is important because utilizing high magnification during a procedure definitely improves your ability to see fine details but, without training, can cause difficulty navigating the oral cavity. Even small movements become greatly amplified when working under high magnification, so it can become more difficult to track your movements without the correct amount of training/practice.
Accoridng to Dr. Wenzel, early in your training with a scope, you may feel like you’re “losing your hands” when you’re working under higher levels of magnifications than you’re accustomed to.
In these circumstances, low magnification of 2-5X may be beneficial as you get more familiar with using a scope. Higher magnification of 8-13X may be useful when dissecting within a small area requiring less movement, e.g. in papilla preservation techniques.
In general, magnification should allow the doctor to operate with ease, without increasing their usual operating time required for a particular surgical procedure. With training and experience, doctors can operate between magnification levels easily, and can evaluate when the advantages of higher powers of magnification outweigh a narrower field of view.
Improving Your Positioning
If early on in your learning curve you’re still finding yourself in awkward or uncomfortable positions when using your scope, you may need some help with proper positioning. Don’t sacrifice your comfort during the learning curve, ergonomics is what scopes were designed for!
These are the areas you’ll want to ensure are adjusted correctly to provide correct positioning:
- Microscope mount
- Doctor stool
- Doctor head
- Patient in the chair
Learning how to effectively position your scope so that the operating field or target tooth can be visualized is part of getting comfortable with your scope. To get acclimated, some doctors seek formal training, while some will learn it through trial and error.
The most important things to be mindful of when learning how to get comfortable with microscope positioning is that in addition to your scope itself, the position of the exam chair, patient’s head and mirror also need to be considered when trying to visualize the operating field or a target tooth.
For more guidance on this topic, as one of the more significant barriers to comfort during the learning curve – we cover this topic in greater depth in our article: Dental Microscope How-To Guide: Integration & Positioning. We urge you to check out this article for more tips on positioning!
Surgical Assistants & Practice Staff
The fixed perspective on a scope allows for stunning, high magnification photos and videos without image shake – like you’d experience with an over-head camera with your loupes. Once your microscope camera is set-up, it can capture HD imagery of what you’re seeing – in real time. Now, your assistants can handle video capture easier without interrupting the workflow to capture pictures.
With a live-feed, everyone present in the operatory can view the doctor’s actions firsthand, and anticipate their movements. Some doctors we speak with say this dramatically improves their communication with staff, because it reduces their need for verbalizing each action, thereby making their surgeries more efficient.
For more on this topic, check out our complete article: The Surgical Assistant’s Guide to a Dental Microscope.
More Value With a Global Microscope
At Global Surgical, we’re committed to your success, with durable products and our knowledgeable Technical & Customer Service teams. We’re proud to be based in the US, with manufacturing and assembly facilities in St. Louis, MO. This helps us give our customers the best service, domestically and internationally. And, as part of our commitment to our customers, we offer a limited lifetime warranty on our scopes (US & Canada customers only).
Many of the doctors we speak with begin using their scopes with nearly every patient – from observation and diagnosis to treatment planning and procedure, so we know it’s important they are able to use their scope effectively.
Questions? Reach Out!
If you’re just getting started with a dental microscope, or considering adding a scope to your practice, we are here to help! We can help configure and customize your scope to your clinical needs, helping you get started as quickly as possible. Our Technical & Customer Service teams are rated among the best in the business.
Get started by reaching out to us at 800-861-3585 or by clicking the button below.