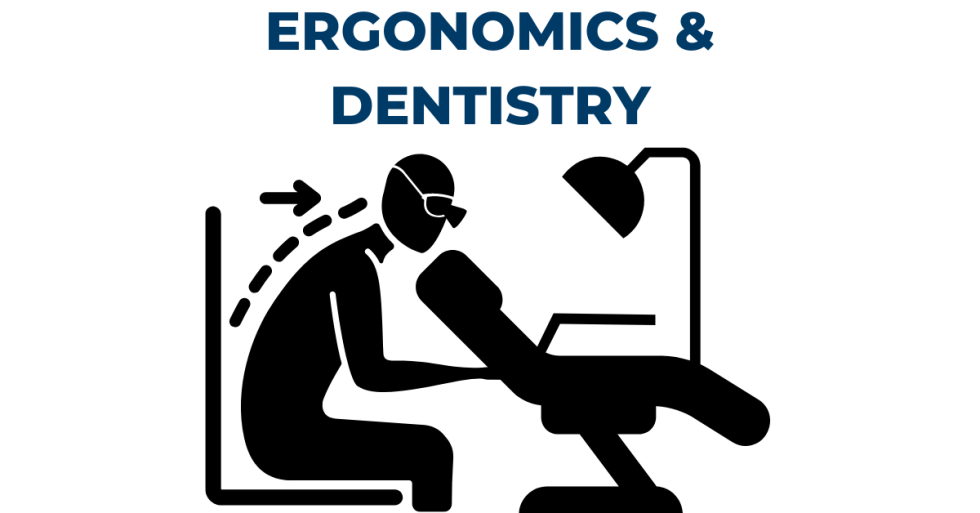
Ergonomics in Dental Microscope Use: How to Sit and Work Efficiently
.png)
Dentistry is a physically demanding profession that requires dentists to spend long hours in precise, sometimes awkward positions. With advancements in technology, dental practitioners now have various tools at their disposal that can significantly prolong their careers.
The ergonomically designed dental microscope allows you to work in a more natural, upright position, reducing strain on your neck and back. These microscopes can be adjusted to fit your height and preferred working angle, allowing you to maintain better posture during procedures. Overall, a dental microscope takes ergonomics to the next level, even when compared to loupes, to give you a comfortable resting position at all times when examining patients.
Additionally, your dental chair is the central hub of your dental practice. A dental microsurgeon's chair that is designed to be ergonomic plays a critical role in ensuring both patient comfort and dentist well-being.
This article provides detailed guidance on how to sit and work ergonomically with a dental microscope, with additional tips for maximizing your ergonomics with a microsurgeon's chair.
Importance of Ergonomics in Dentistry
Ergonomics in dentistry is crucial for several reasons:
- Prevents Musculoskeletal Disorders: Prolonged periods of poor posture can lead to chronic pain and musculoskeletal issues, affecting the dentist's health and career longevity.
- Enhances Performance: Comfortable and proper positioning allows for better focus and precision during procedures.
- Reduces Fatigue: Proper ergonomic practices help reduce physical and mental fatigue, enabling dentists to work effectively for longer periods.
Key Principles of Ergonomic Posture
1. Maintain Neutral Spine Alignment
When sitting, your spine should be in a neutral position to minimize stress on your back. This means:
- Head: Keep your head upright and aligned with your spine. Avoid leaning forward excessively.
- Shoulders: Relax your shoulders and keep them level. Avoid hunching or rounding your shoulders.
- Back: Maintain the natural curve of your lower back. Use a chair with lumbar support to help maintain this curve.
2. Position Your Arms and Hands Correctly
Proper positioning of your arms and hands reduces strain and enhances control:
- Elbows: Keep your elbows close to your body and at a 90-degree angle or slightly more open.
- Wrists: Keep your wrists straight or in a neutral position to avoid strain.
3. Adjust Your Legs and Feet
Your legs and feet should support a balanced and stable posture:
- Hips: Keep your hips slightly higher than your knees to promote a slight downward slope of your thighs.
- Feet: Place your feet flat on the floor or on a footrest if necessary. Avoid crossing your legs.
Using a Microsurgeon's Chair
The Microsurgeon's Chair is designed specifically to support ergonomic working positions for dental professionals using microscopes. Here’s how to utilize its features effectively:
1. Adjust the Seat Height
Start by adjusting the seat height so that your thighs are parallel to the floor, or your hips are slightly higher than your knees. This position helps maintain the natural curve of your spine and reduces pressure on your lower back.
2. Utilize Lumbar Support
Ensure the chair’s lumbar support is positioned to match the curve of your lower back. This support is crucial for maintaining a neutral spine and preventing slouching.
3. Set the Backrest Angle
Adjust the backrest angle to support a slight recline. A 100-110 degree angle is typically recommended. This position reduces the load on your lower back and promotes a relaxed posture.
4. Use Armrests Appropriately
Adjust the armrests so that your elbows rest comfortably at a 90-degree angle. The armrests should support your forearms without raising your shoulders. Proper use of armrests helps reduce strain on your neck and shoulders.
5. Position the Microscope Correctly
The placement of the dental microscope is crucial for maintaining an ergonomic posture:
- Height: Adjust the microscope height so that you can look through the eyepieces without bending your neck or leaning forward excessively.
- Angle: Tilt the microscope head to allow for a comfortable viewing angle that aligns with your natural head position.
- Distance: Position the microscope close enough to avoid reaching or leaning forward. Your hands should be able to reach the controls easily without stretching.
6. Optimize Your Workspace
Organize your workspace to minimize unnecessary movements and maintain a clean, efficient working area:
- Instrument Tray: Place the instrument tray within easy reach to reduce the need for awkward movements.
- Lighting: Ensure adequate lighting in your workspace to complement the microscope’s illumination, reducing eye strain.
Thinking about a Dental Microscope to Improve Ergonomics? Chat with Us!
If neck and back pain are creeping into your daily workflow, you may be ready to consider adding a microscope to your practice. We are here to help! We’ve been helping dental practices for over 25 years see the benefits of high magnification through a dental microscope. Plus, we’re proud to be based in the US, with manufacturing and assembly facilities in St. Louis, MO. This helps us give our customers the best service, domestically and internationally.
Ready to get started? Reach a sales representative at 1-800-861-3585 or fill out an inquiry below.


.png)
